I attended the 2023 Julia Conference for the Julia programming language where I was lucky enough to catch Yuto Horikawa's talk called "Creating smooth surface models with ElasticSurfaceEmbedding.jl" (video link). The presentation was about a tool the author wrote that generates shapes that can be cut out of paper and woven into mathematical surfaces. One particular surface really caught my eye, both in the talk and in the project's README on Github: a sphere sliced up in the stereographic projection. Using the SVG files made availabe in the project's repo, I created one of my own!
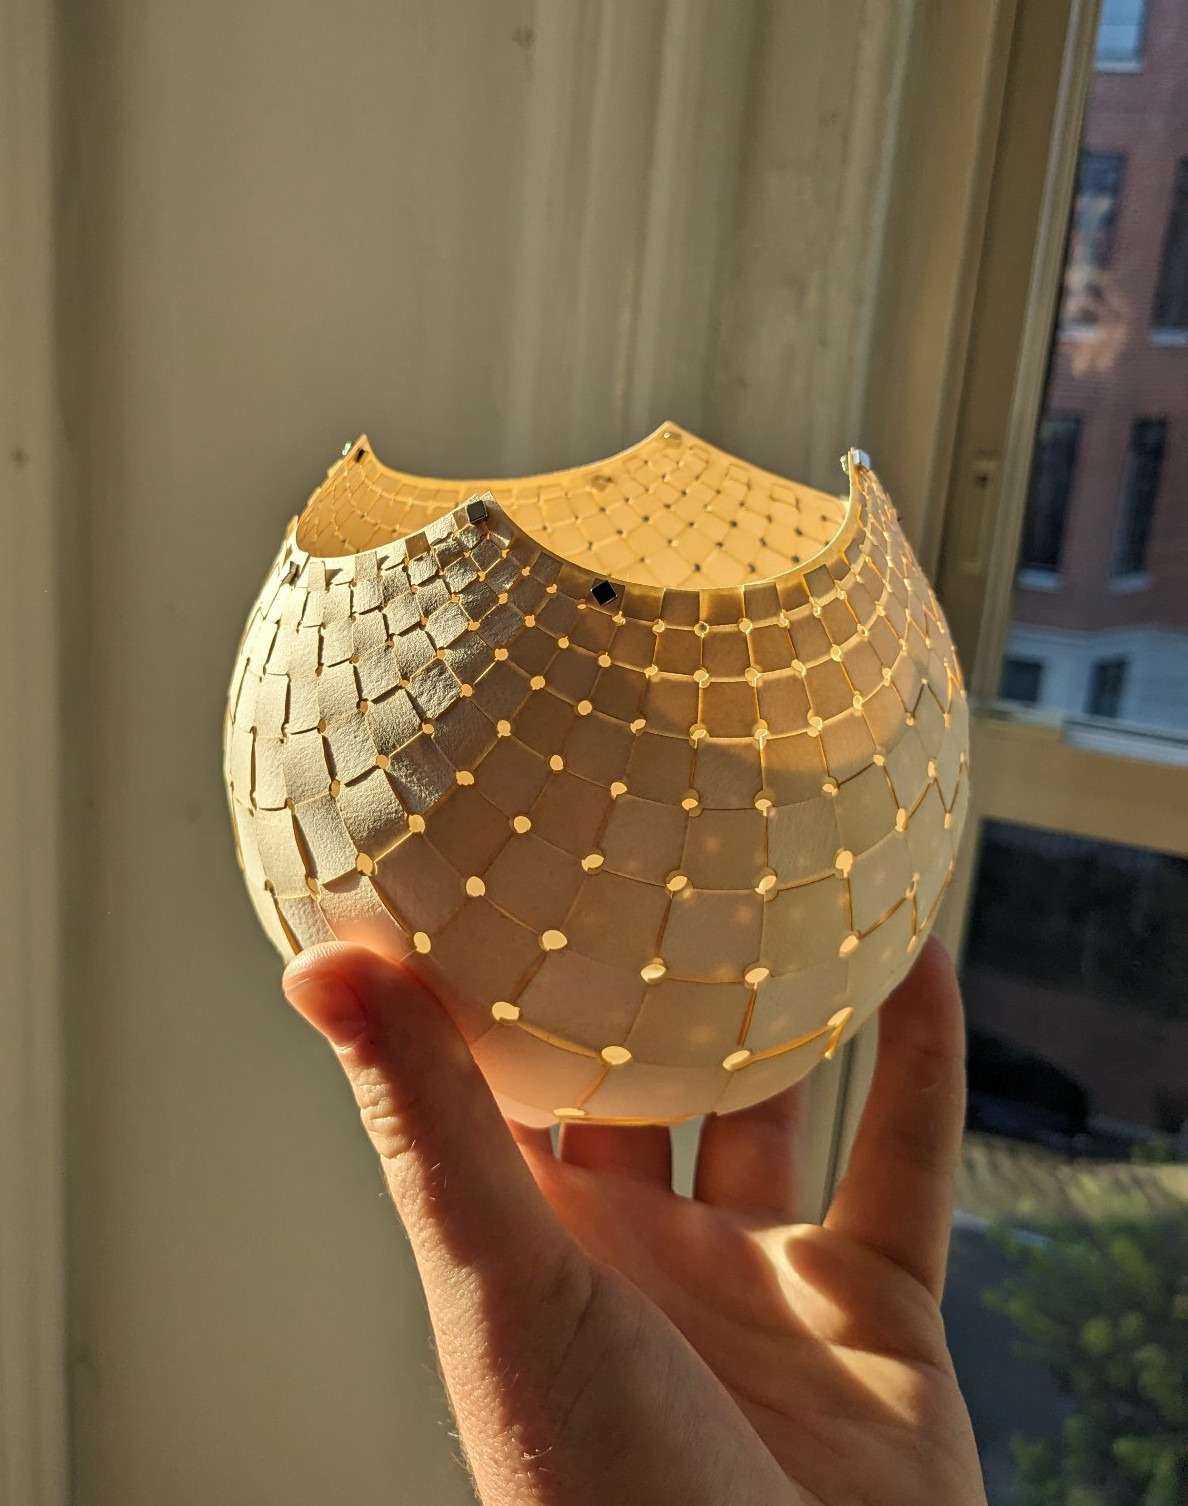
I really love how it looks.[1] The 40 pieces of paper needed to make this were cut on the Washington DC Public Library's laser cutter which I also love. Laser cutters in general are the best. You would not want to cut out all these pieces by hand, but you certainly could with enough time and patience.
Here are some pictures showing how the piece came together.
Gallery
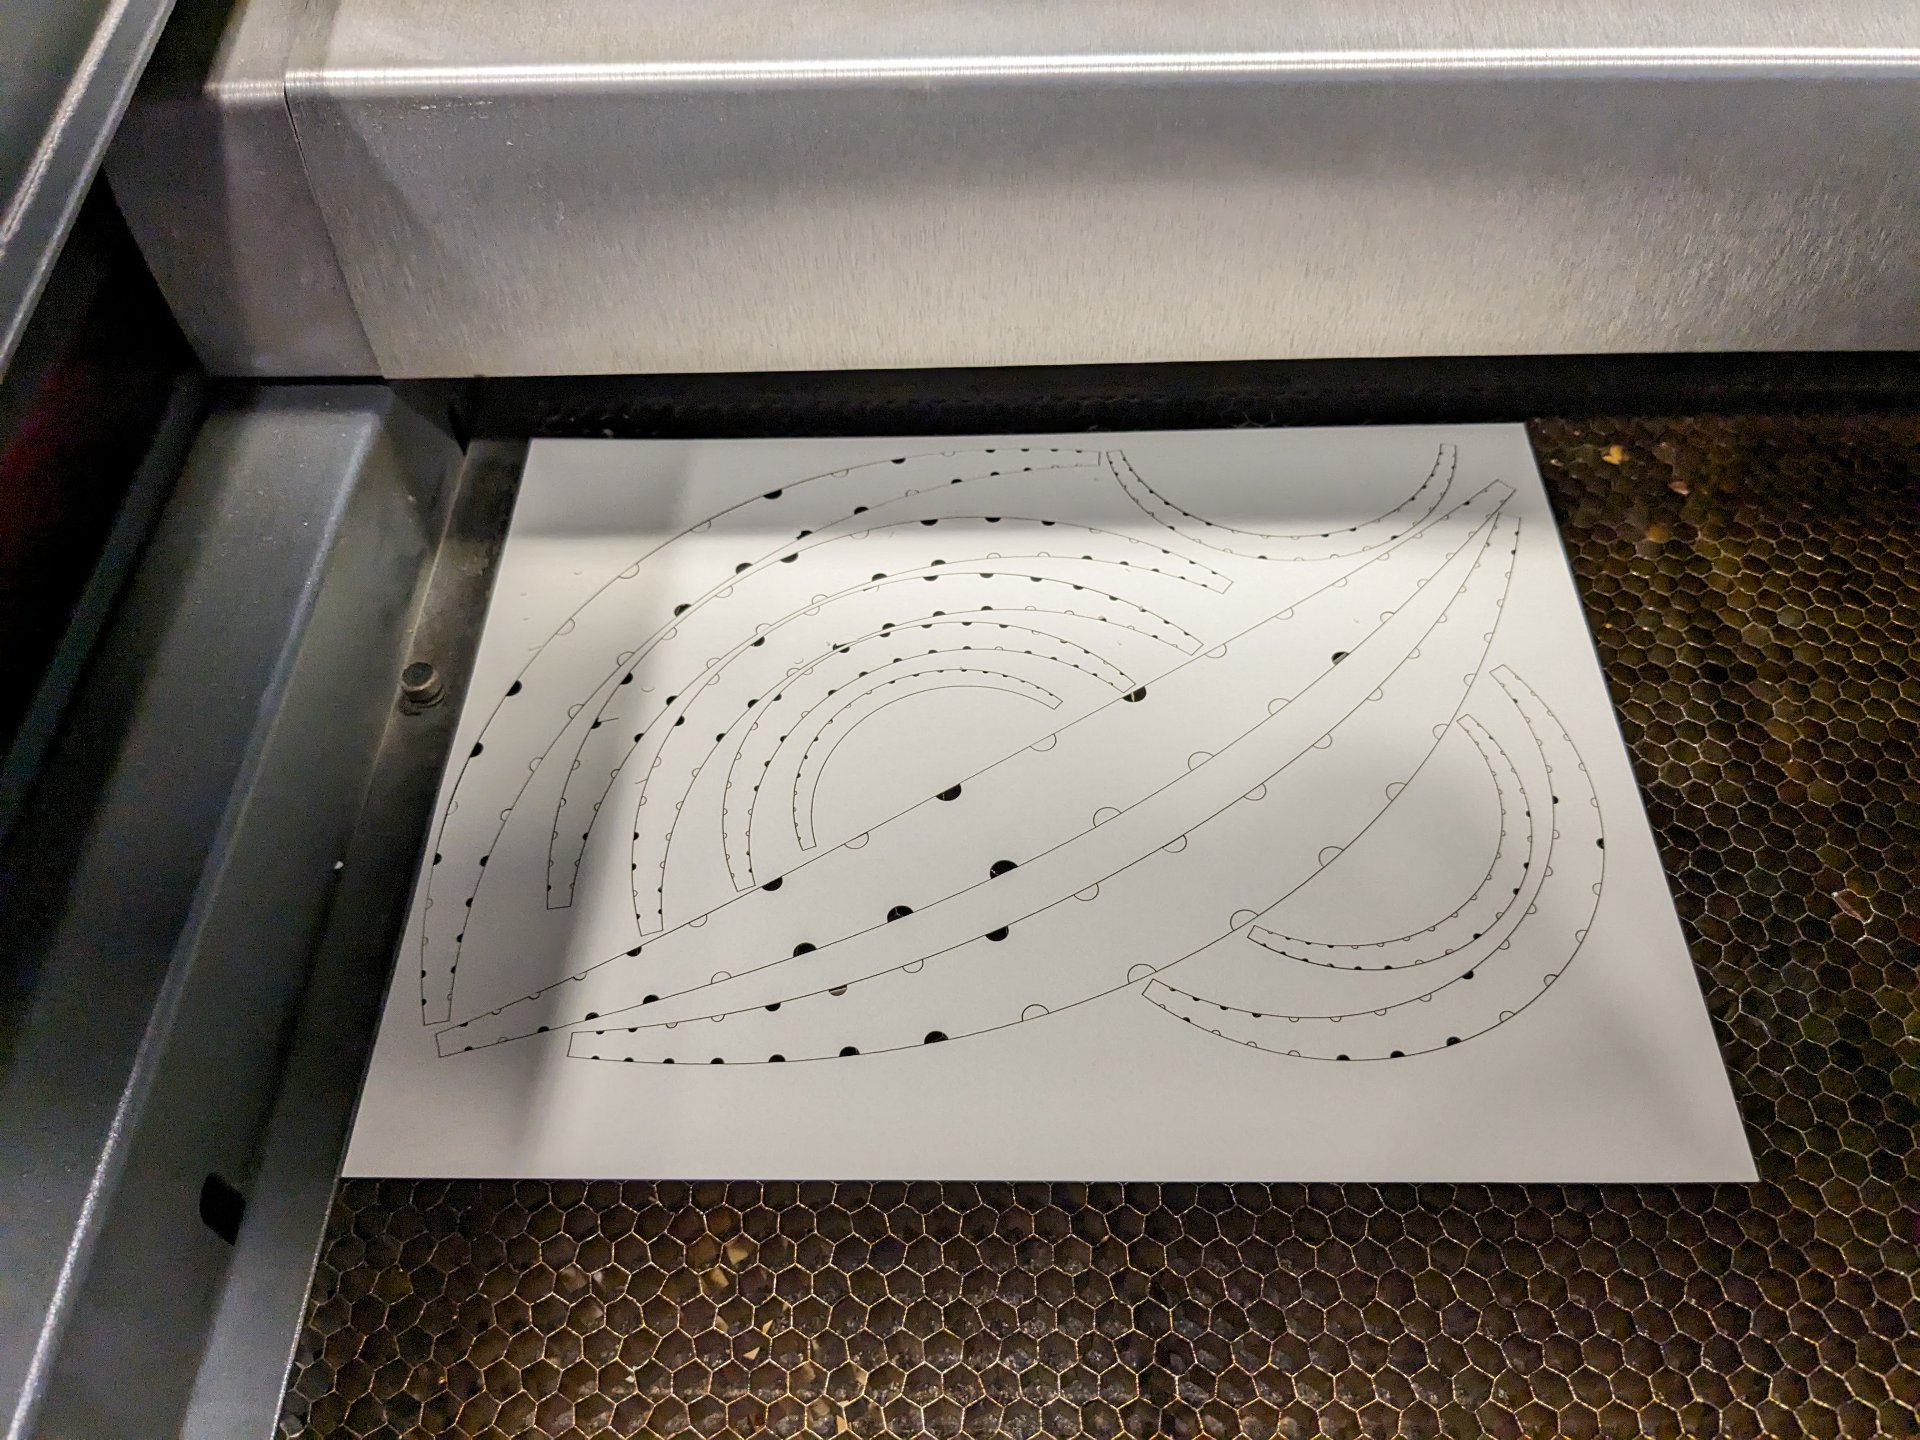
Here are some of the sheets of paper right after laser cutting. I found I could stack a few pieces of paper
and cut multiple sheets at once to save time. One pass of the laser took 7 minutes, so doubling or quadrupling
the sheets of paper significantly sped up the process.
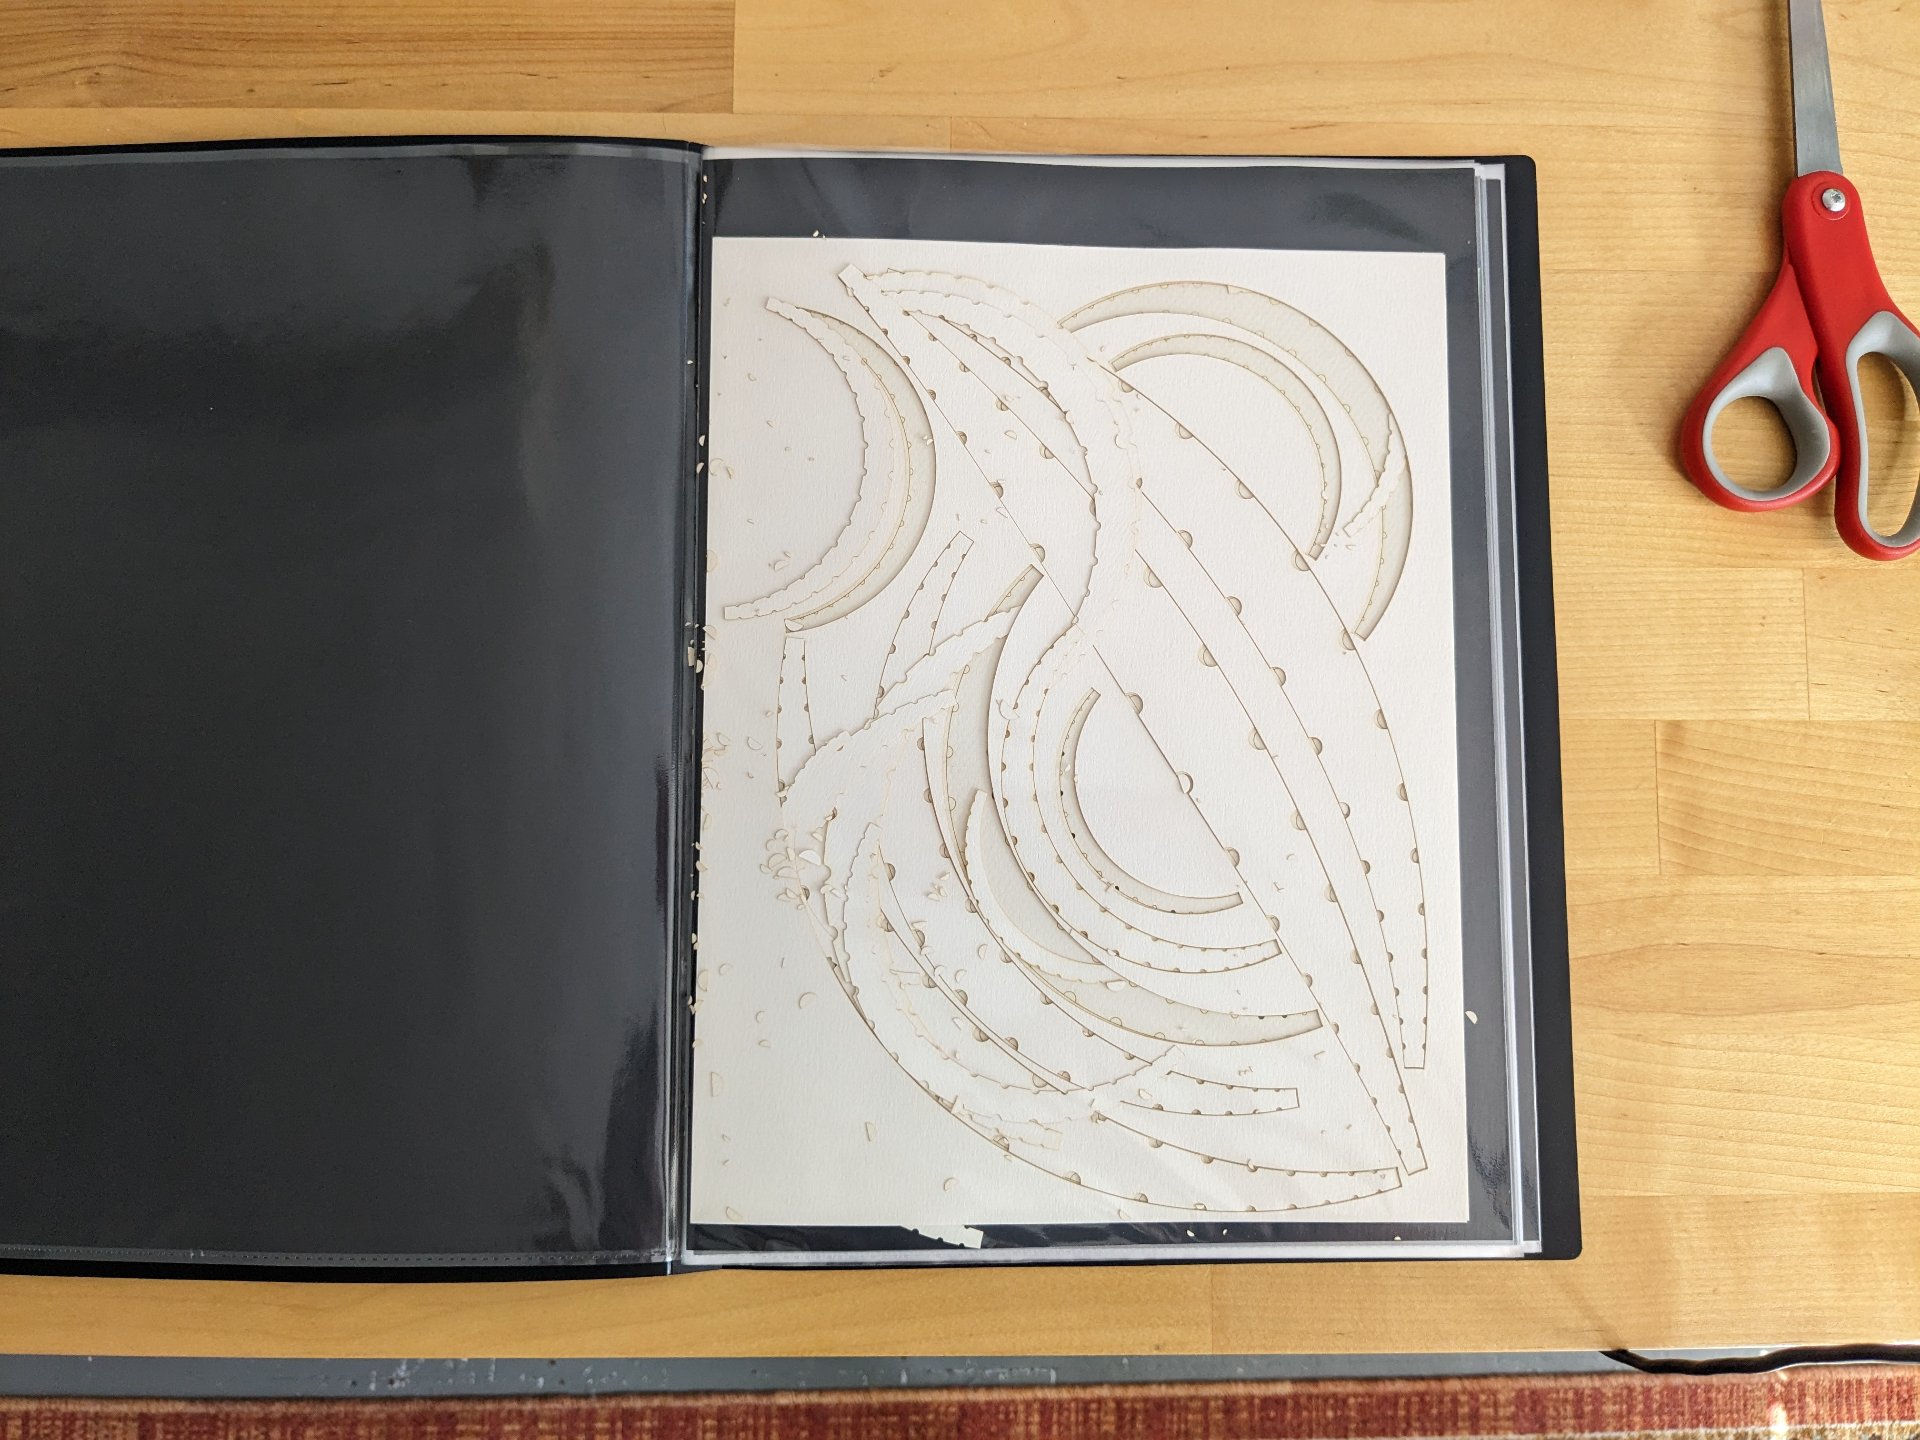
For the sphere pictured here, I used four sheets of paper - two sheets each of two different off-white colored
paper. The final result looks really nice but it was a little hard distinguishing the two colors sometimes,
especially weaving them together late at night.
I found using a portfolio binder was a really easy way to transport the cut sheets of paper without bending or
tearing them. The little half-circles on the edges of the pieces end up scattering all over like confetti so it
was convenient to have a plastic sleave to store everything in.
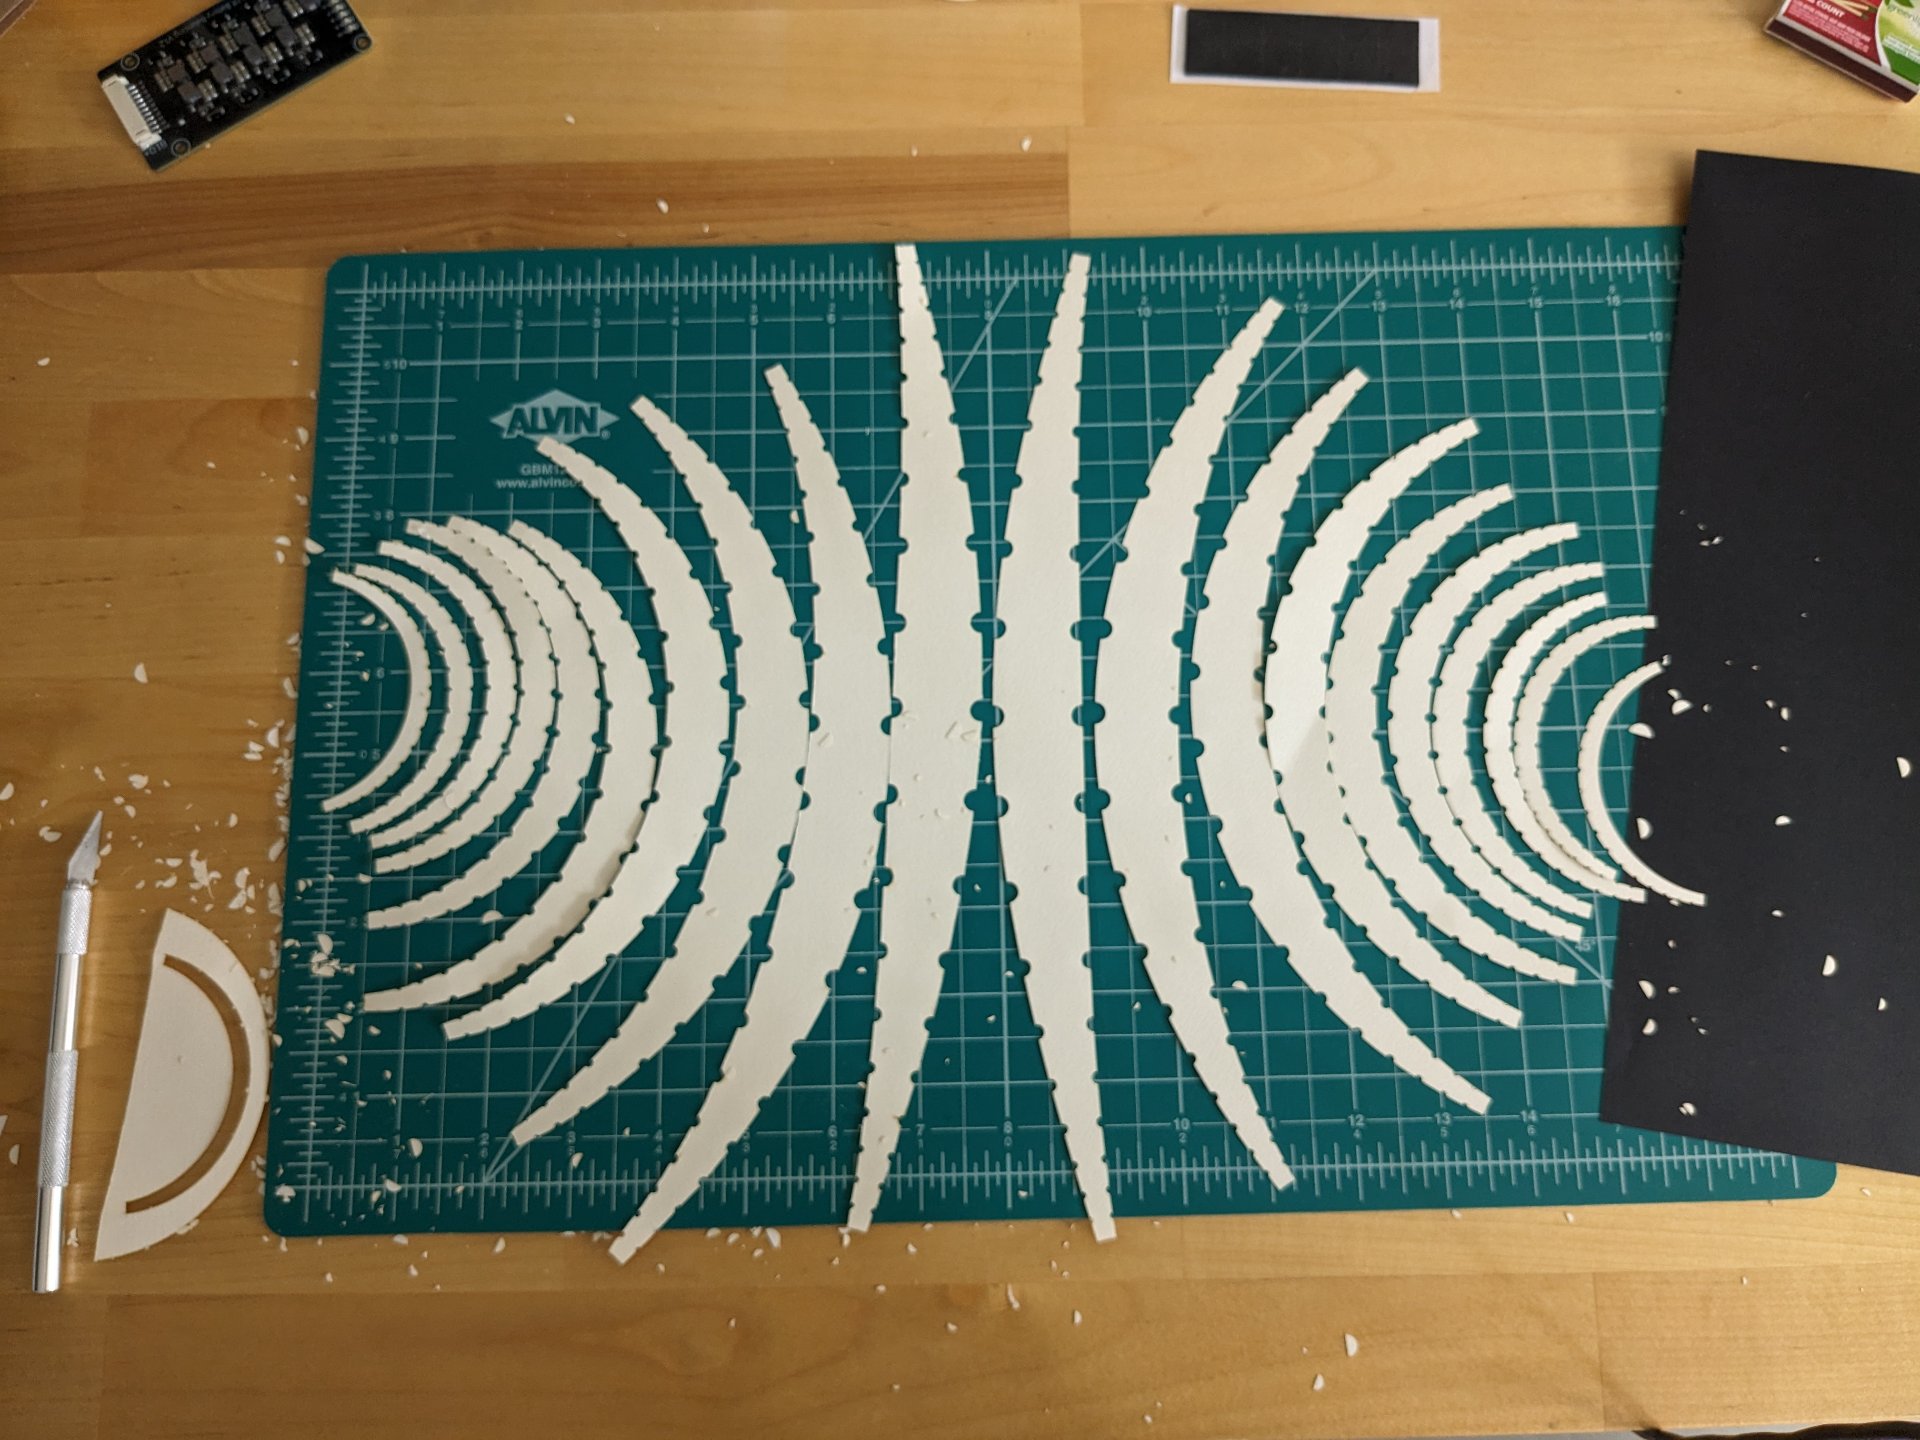
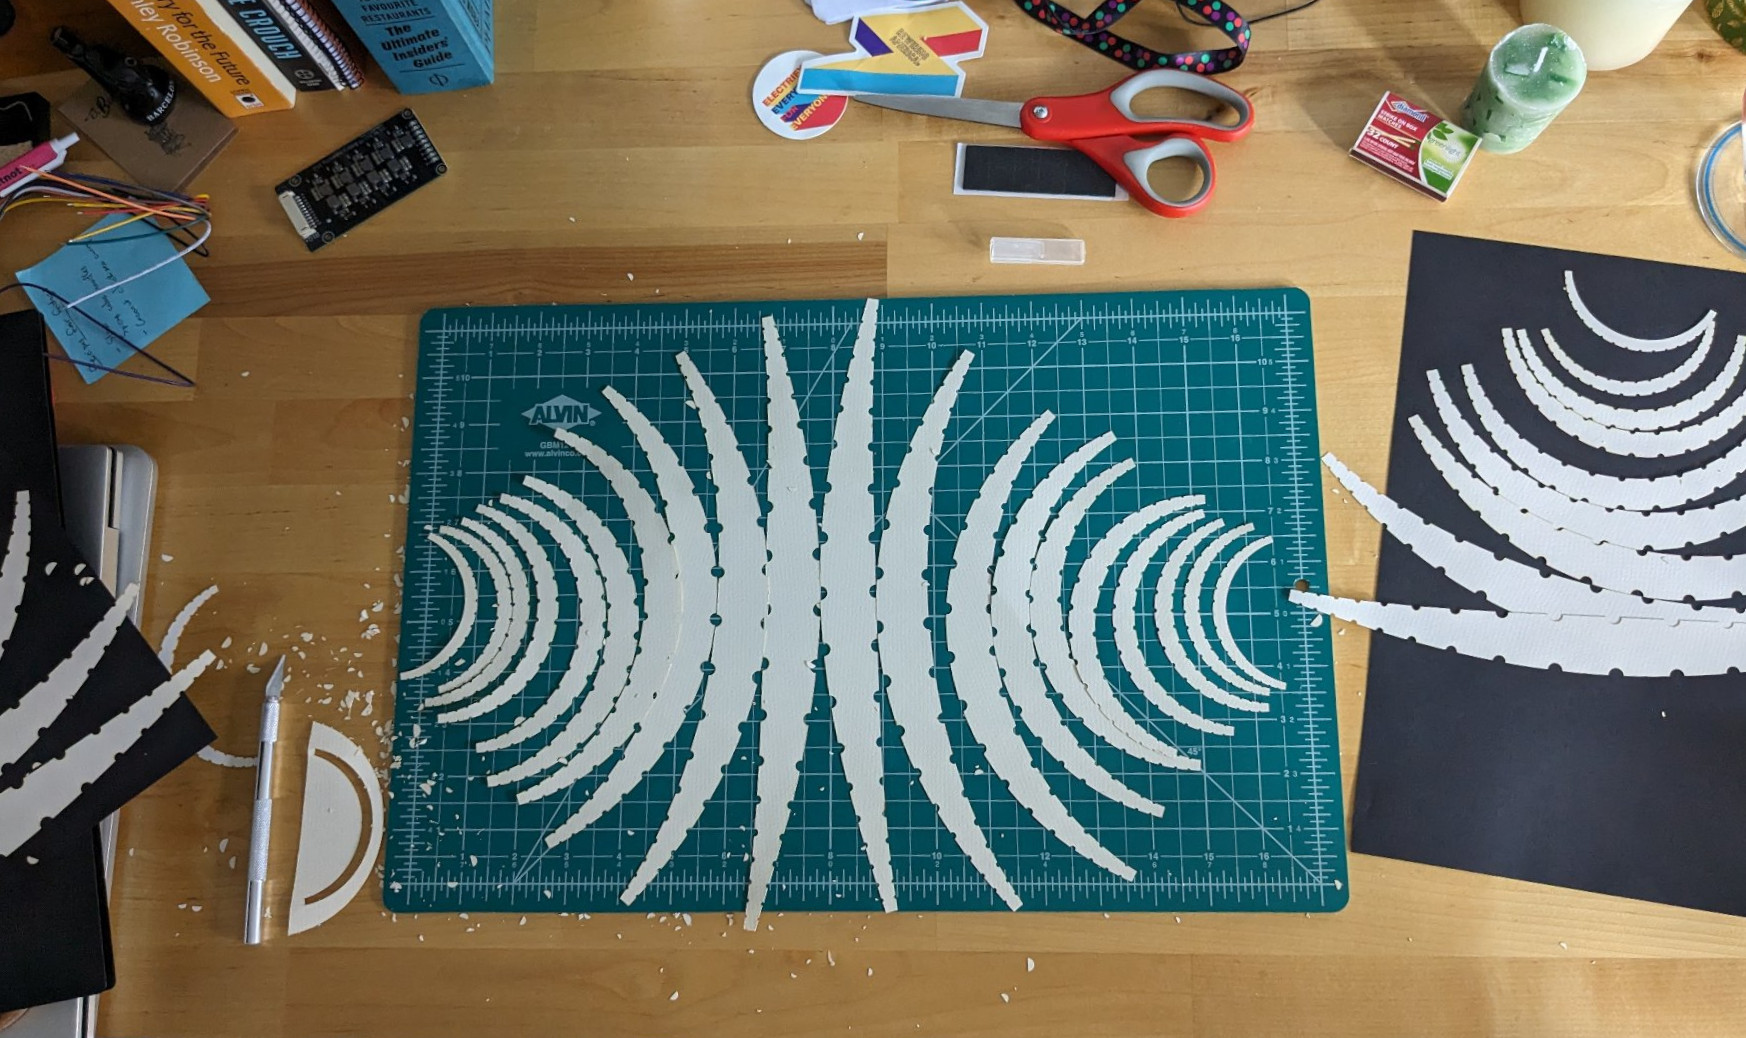
Here is one color (two sheets) of paper strips laid out flat. I think this pattern is really cool. It reminds
me of interference fringes.
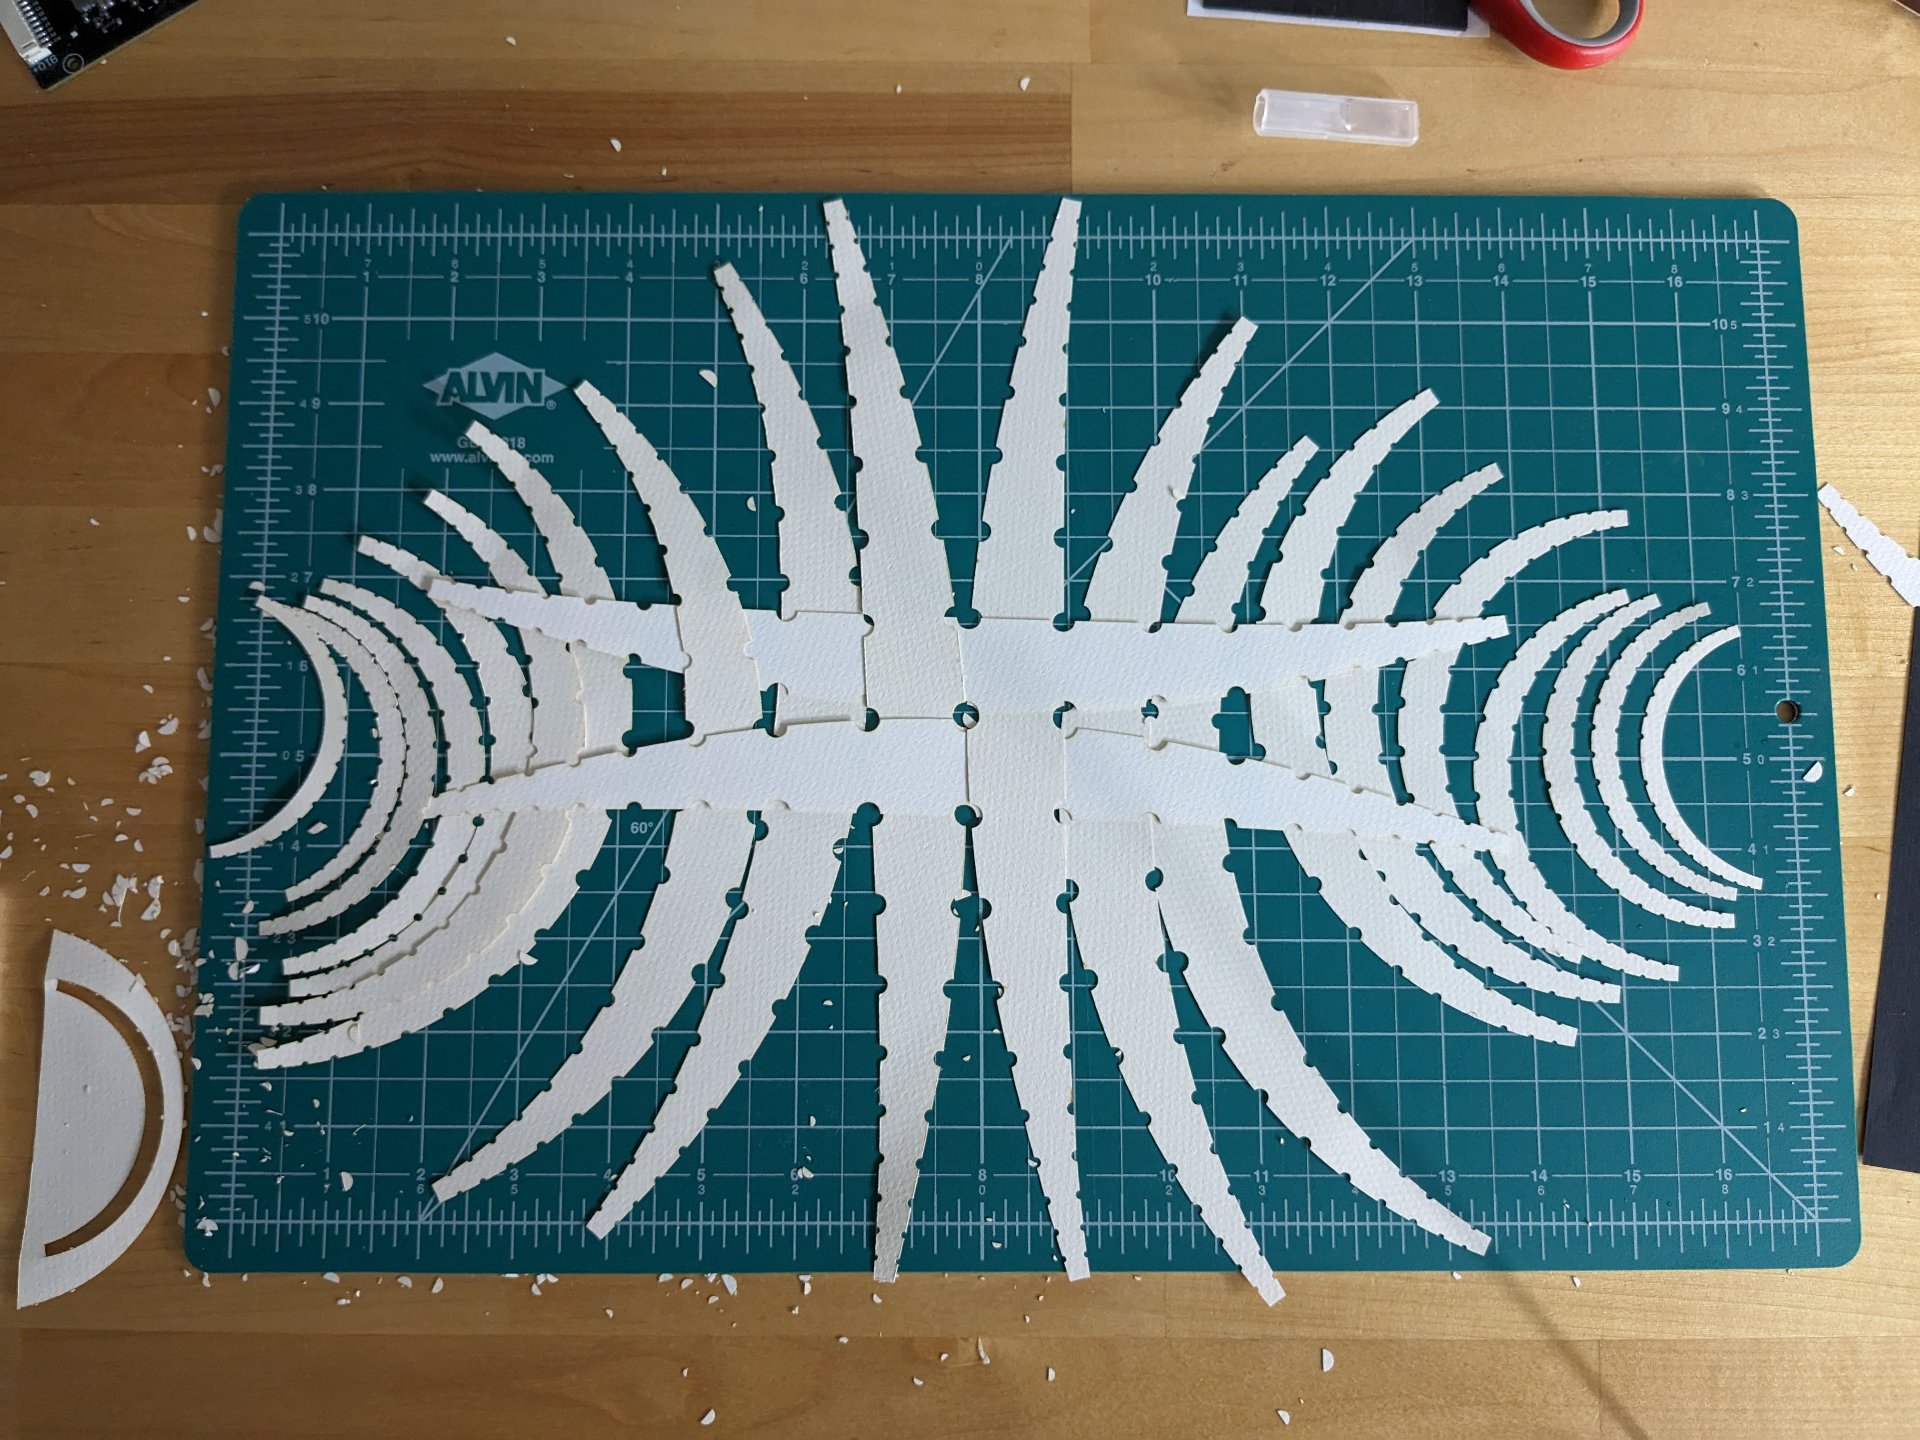
First set of woven strips in (mostly) in place!
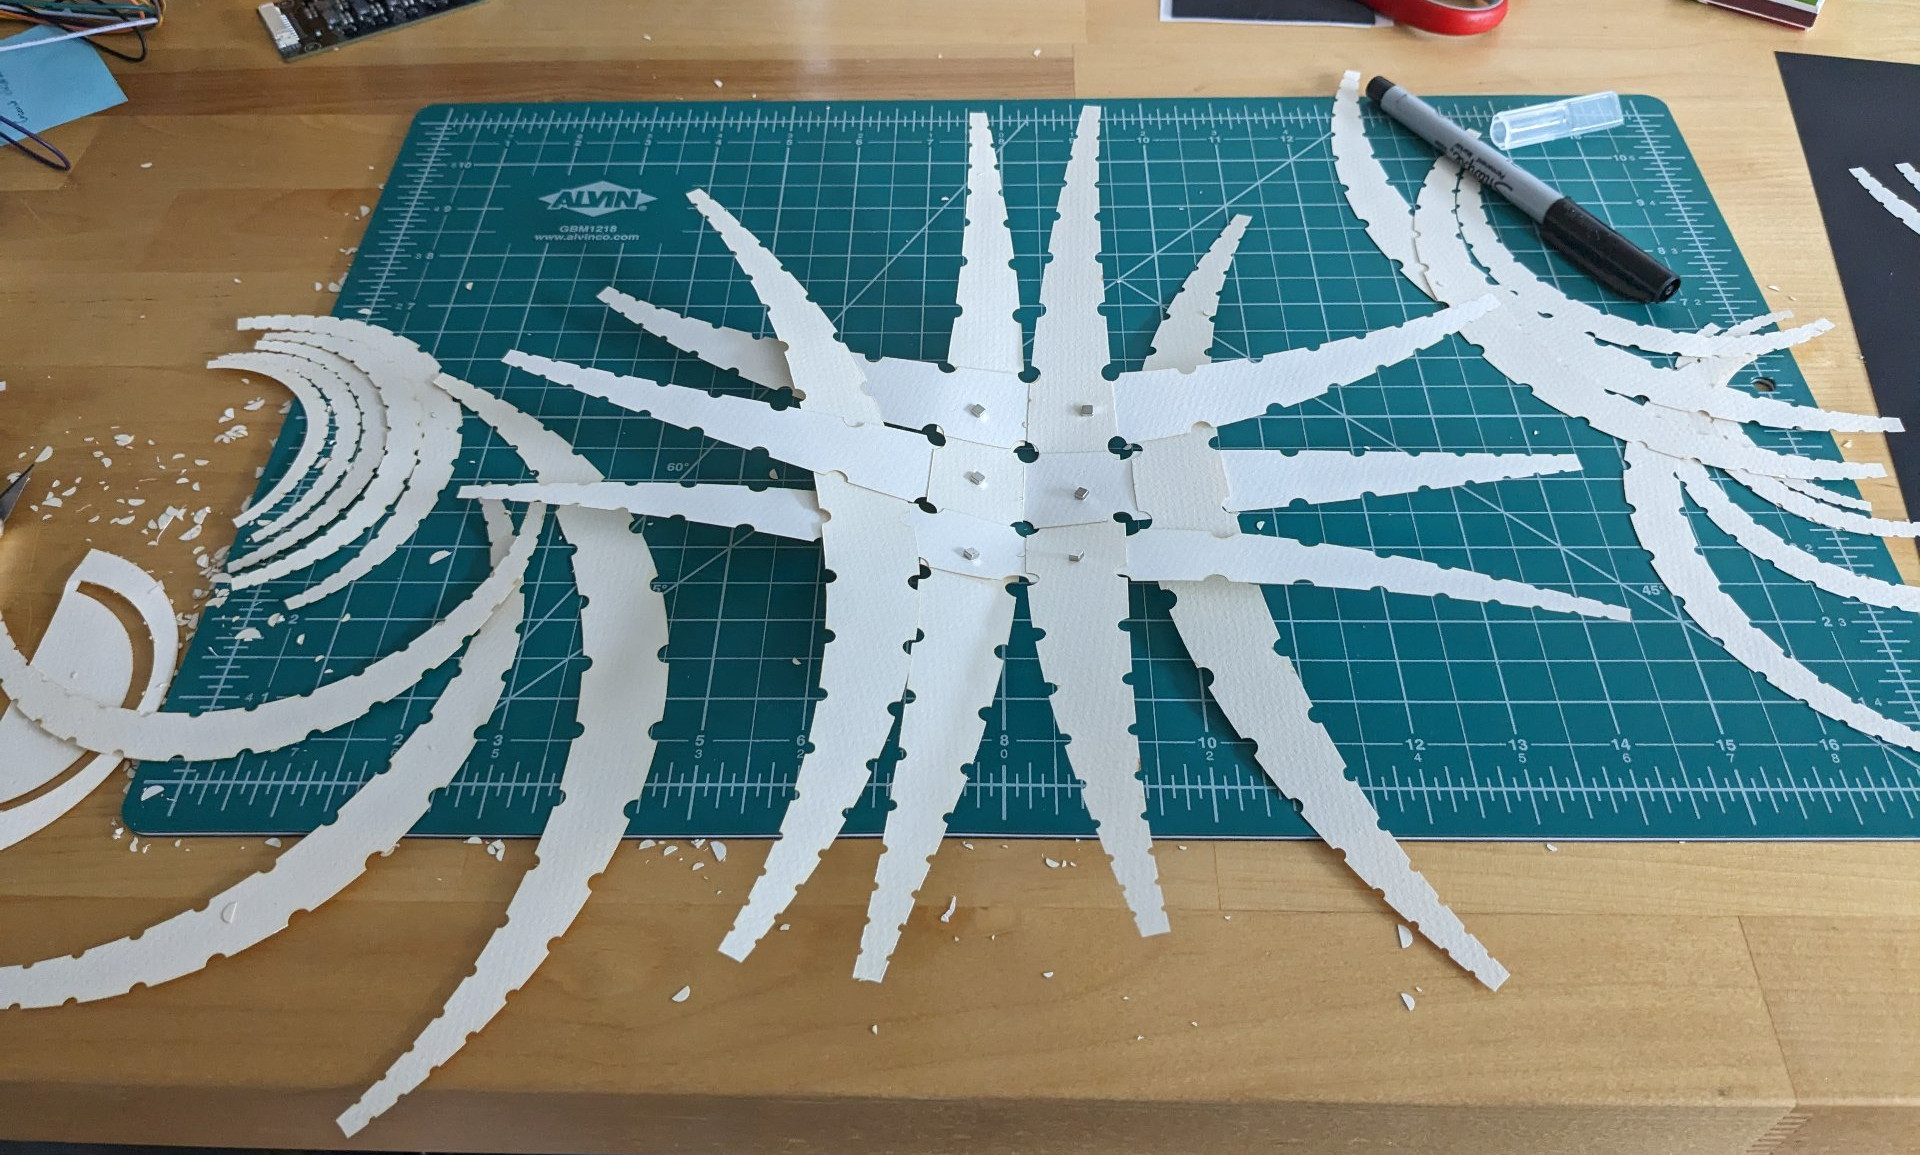
Now the first tricky bit: to get the second pair of strips woven in, I needed to start curving the paper into
its eventual sphere shape. At this point it still wants to lay flat so used small neodymium magnets to pinch
sections of the paper together and hold them in the right position.
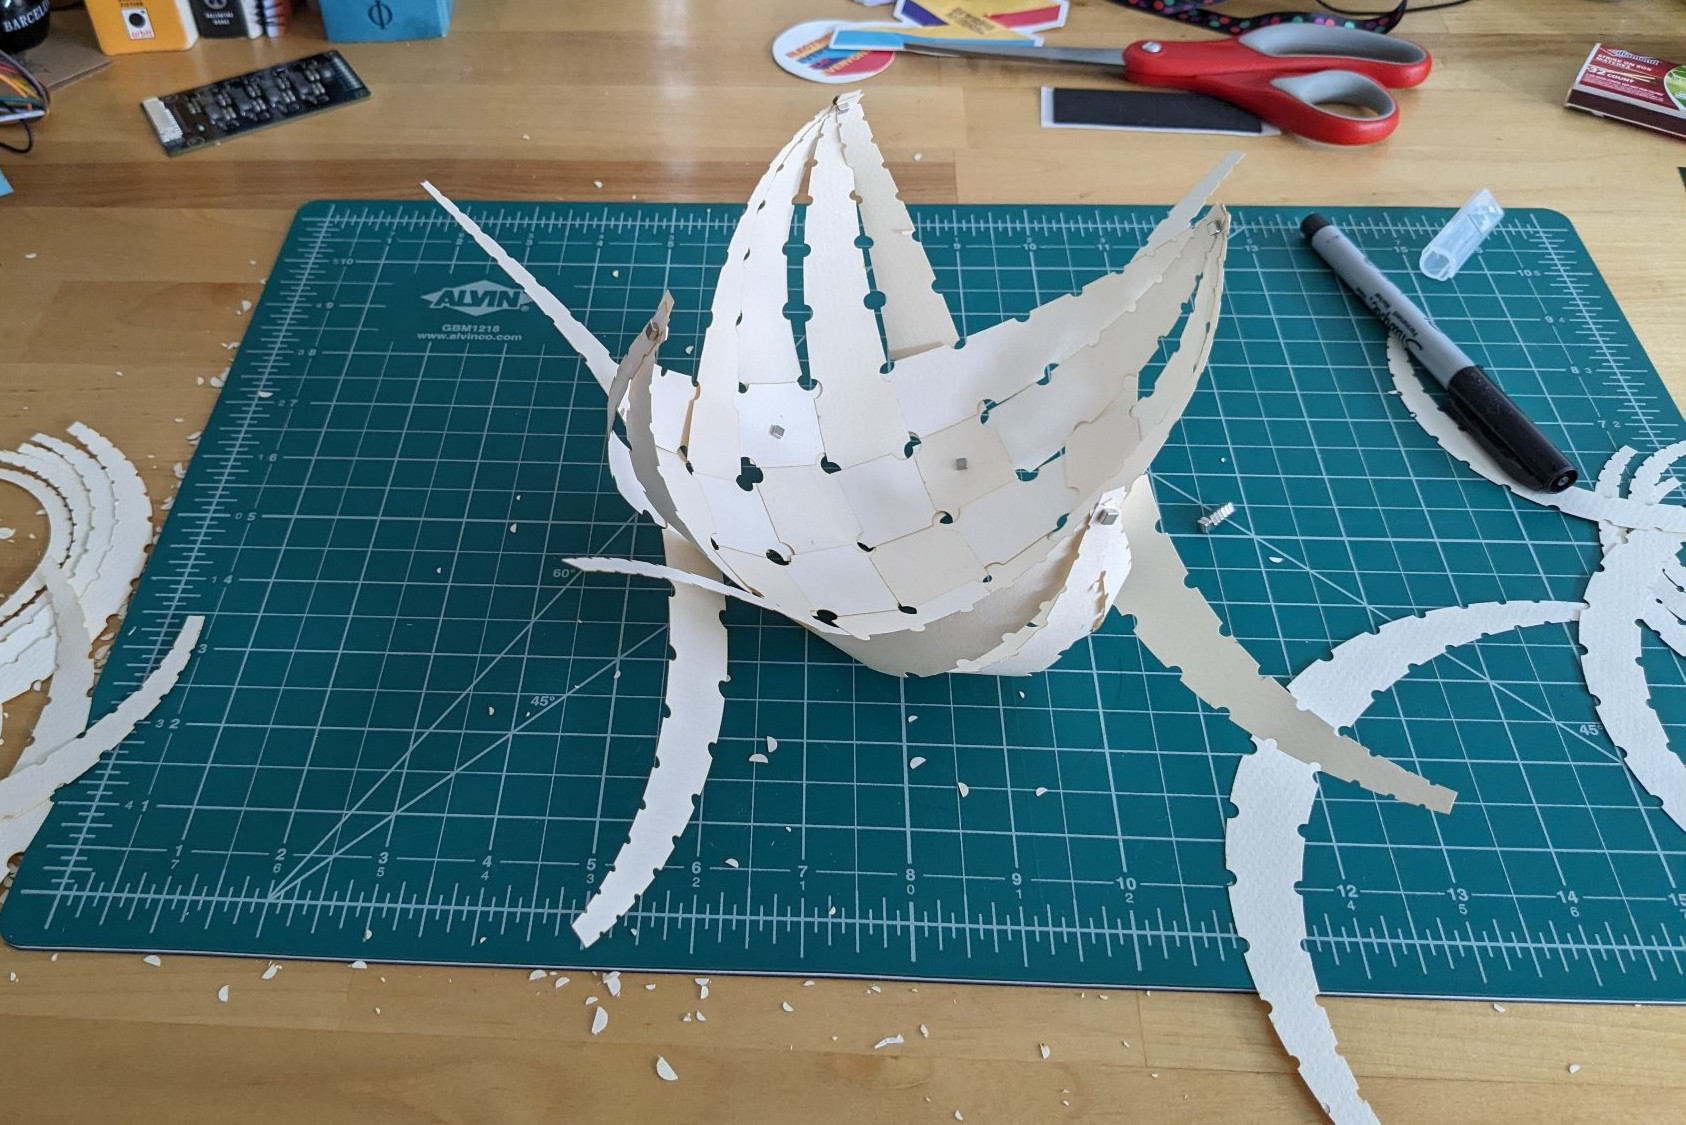
More strips woven in. At this point, I found it was helpful to use magnets to pin together the ends of the
strips. This had the effect fo curving everything up into more of a sphere shape, which made weaving successive
strips in a bit easier.
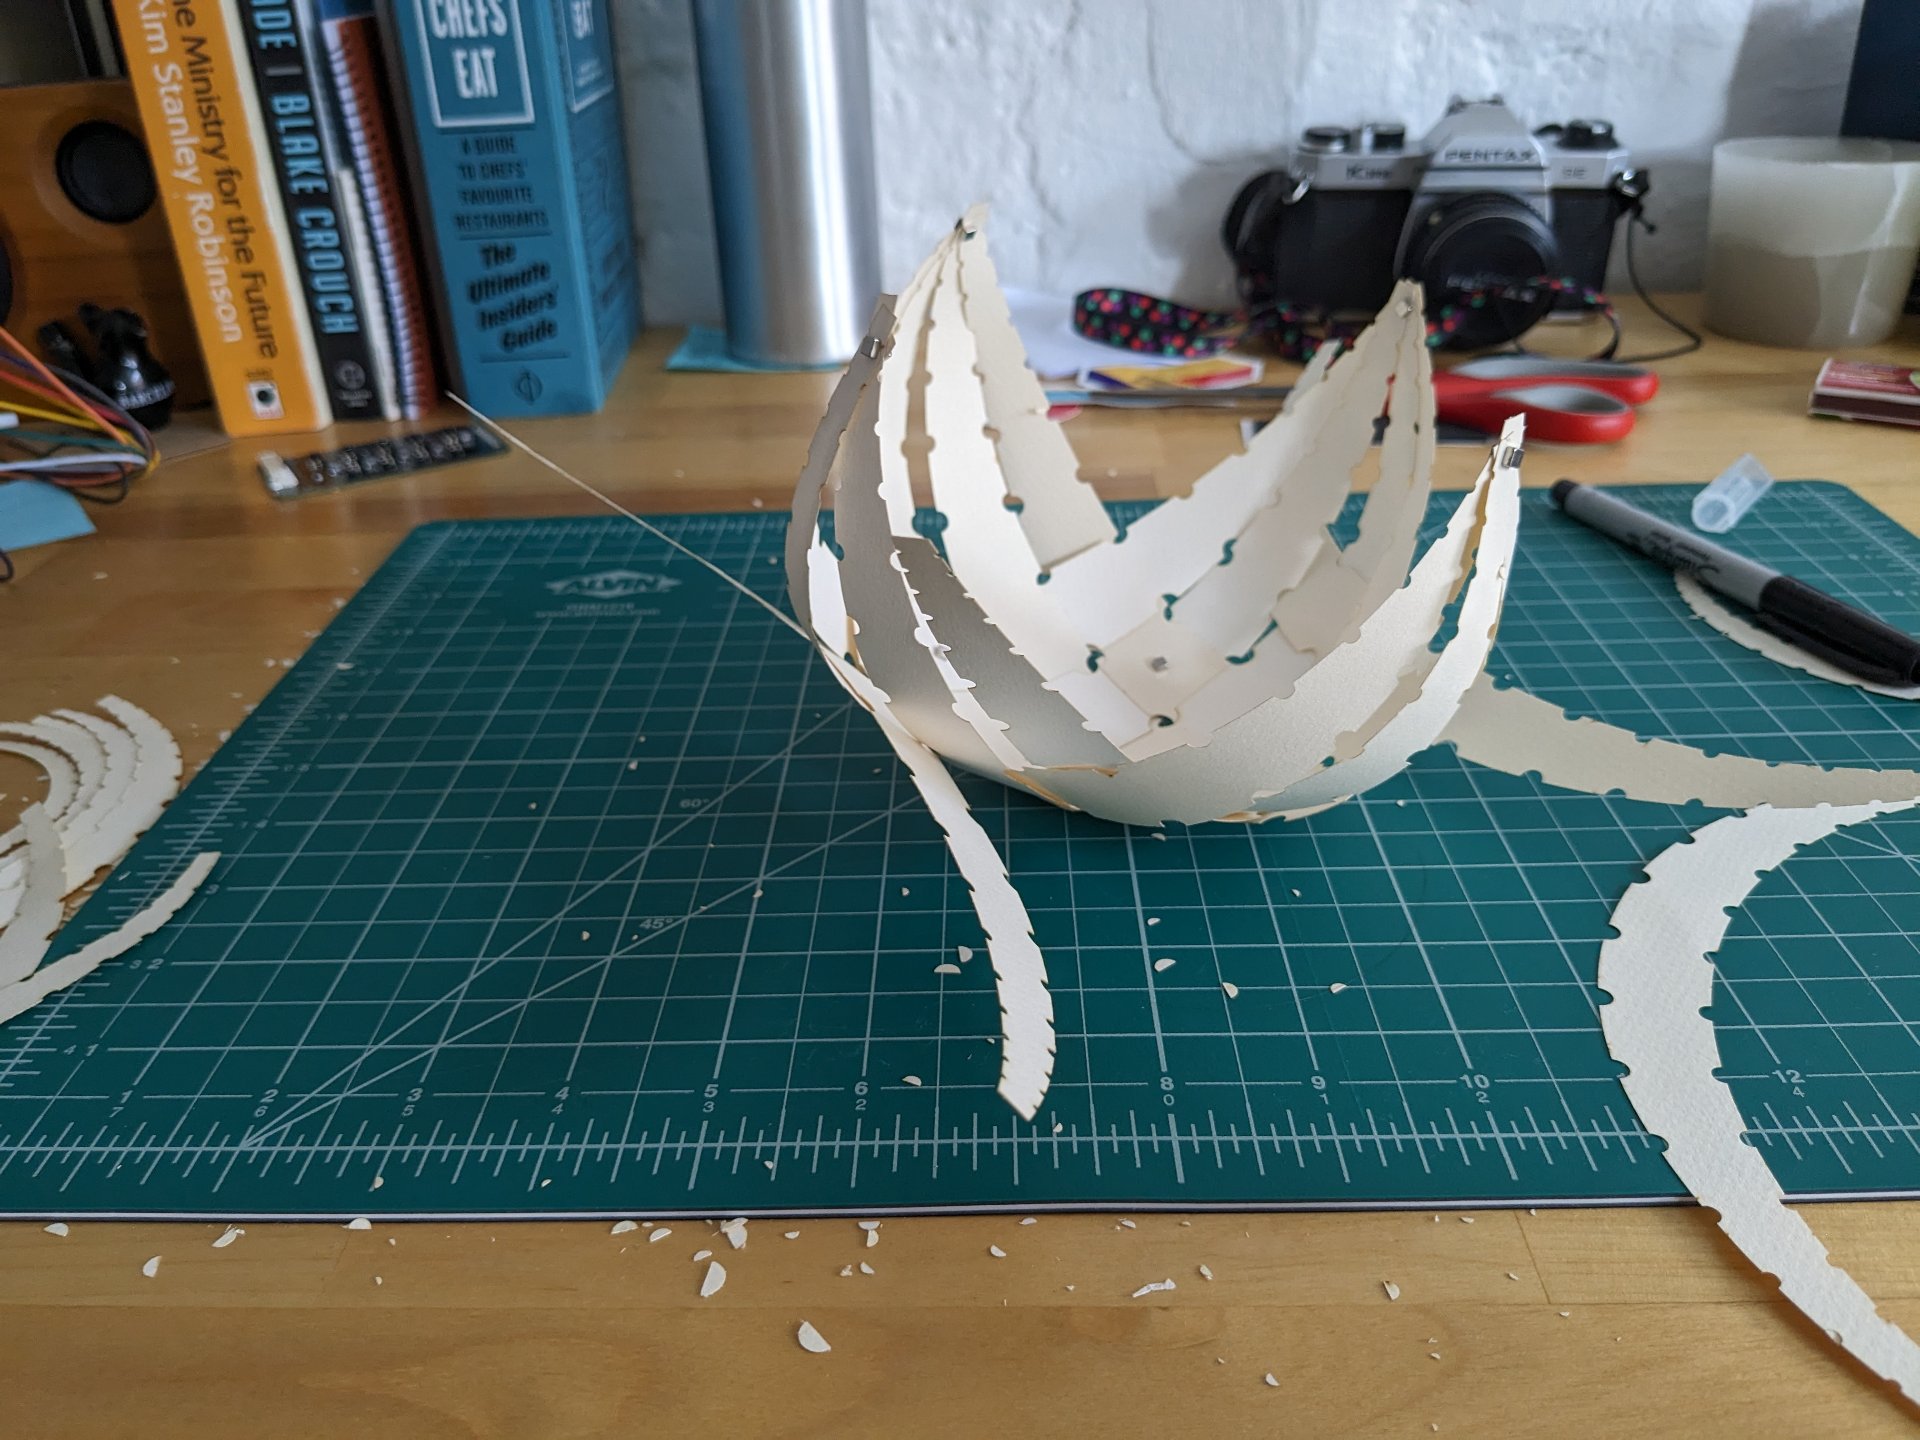
Making more progress! At a certain point, I had to stop pinning the ends of the strips together. At this
point, I found it was more helpful to use the magnets to pin the intersections of the most-recently added strips
to keep them from springing apart. Pinning the middle of each most recently woven strip also helped hold things
in place nicely.
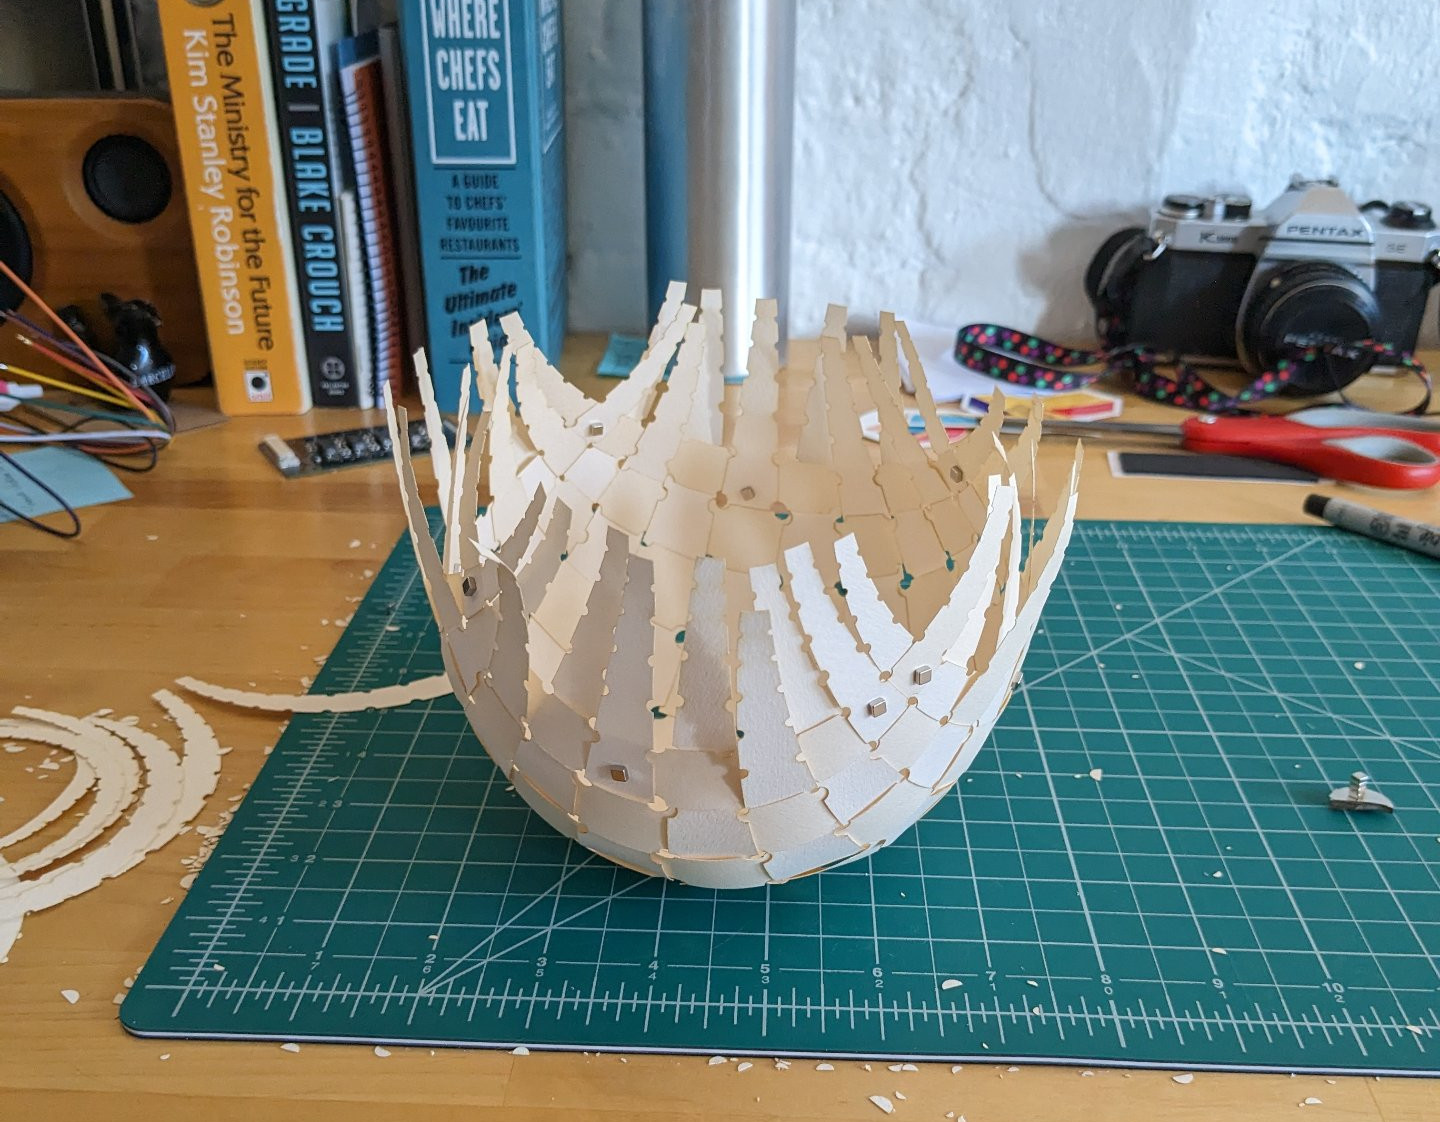
Fully assembled for the first time! This picture is from pretty late in the night as shown by the change in
the room light. I still have the corners and middles of the edges pinned.
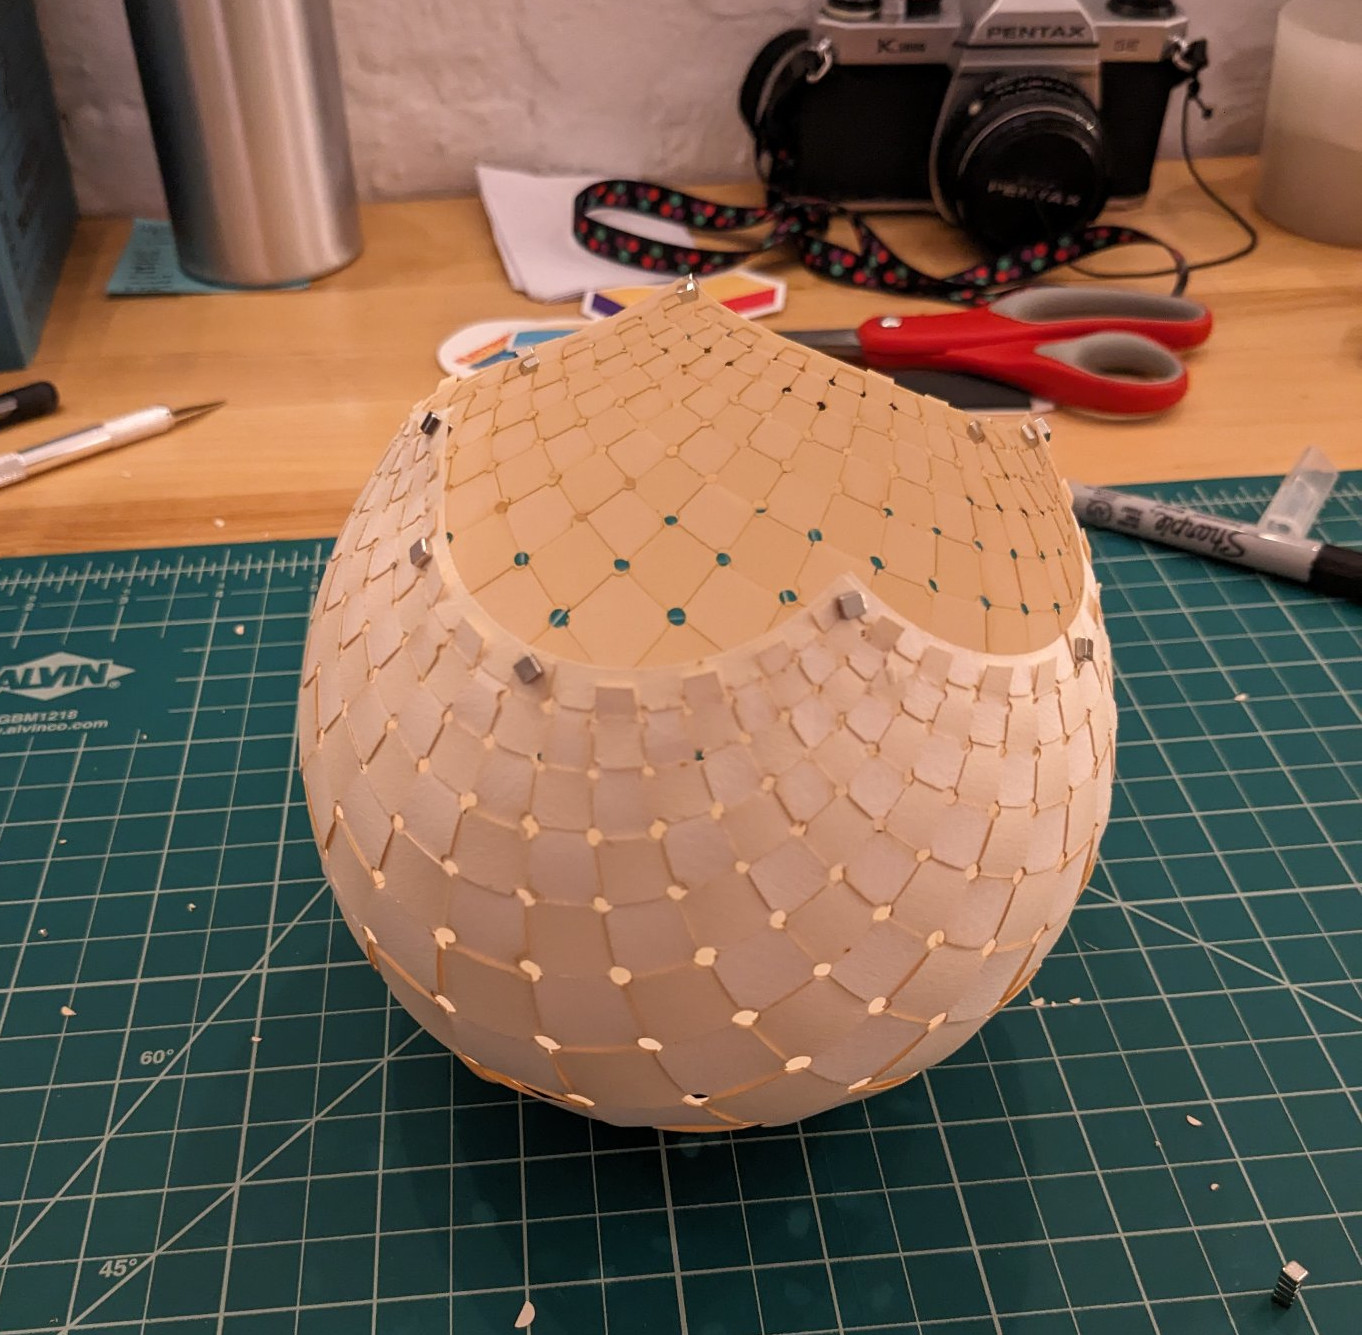
I was very very excited to reach this point after hours of finicky weaving! I think the total weaving time was
close to five hours - a bit more than I expected but nothing a few long podcasts can't help.
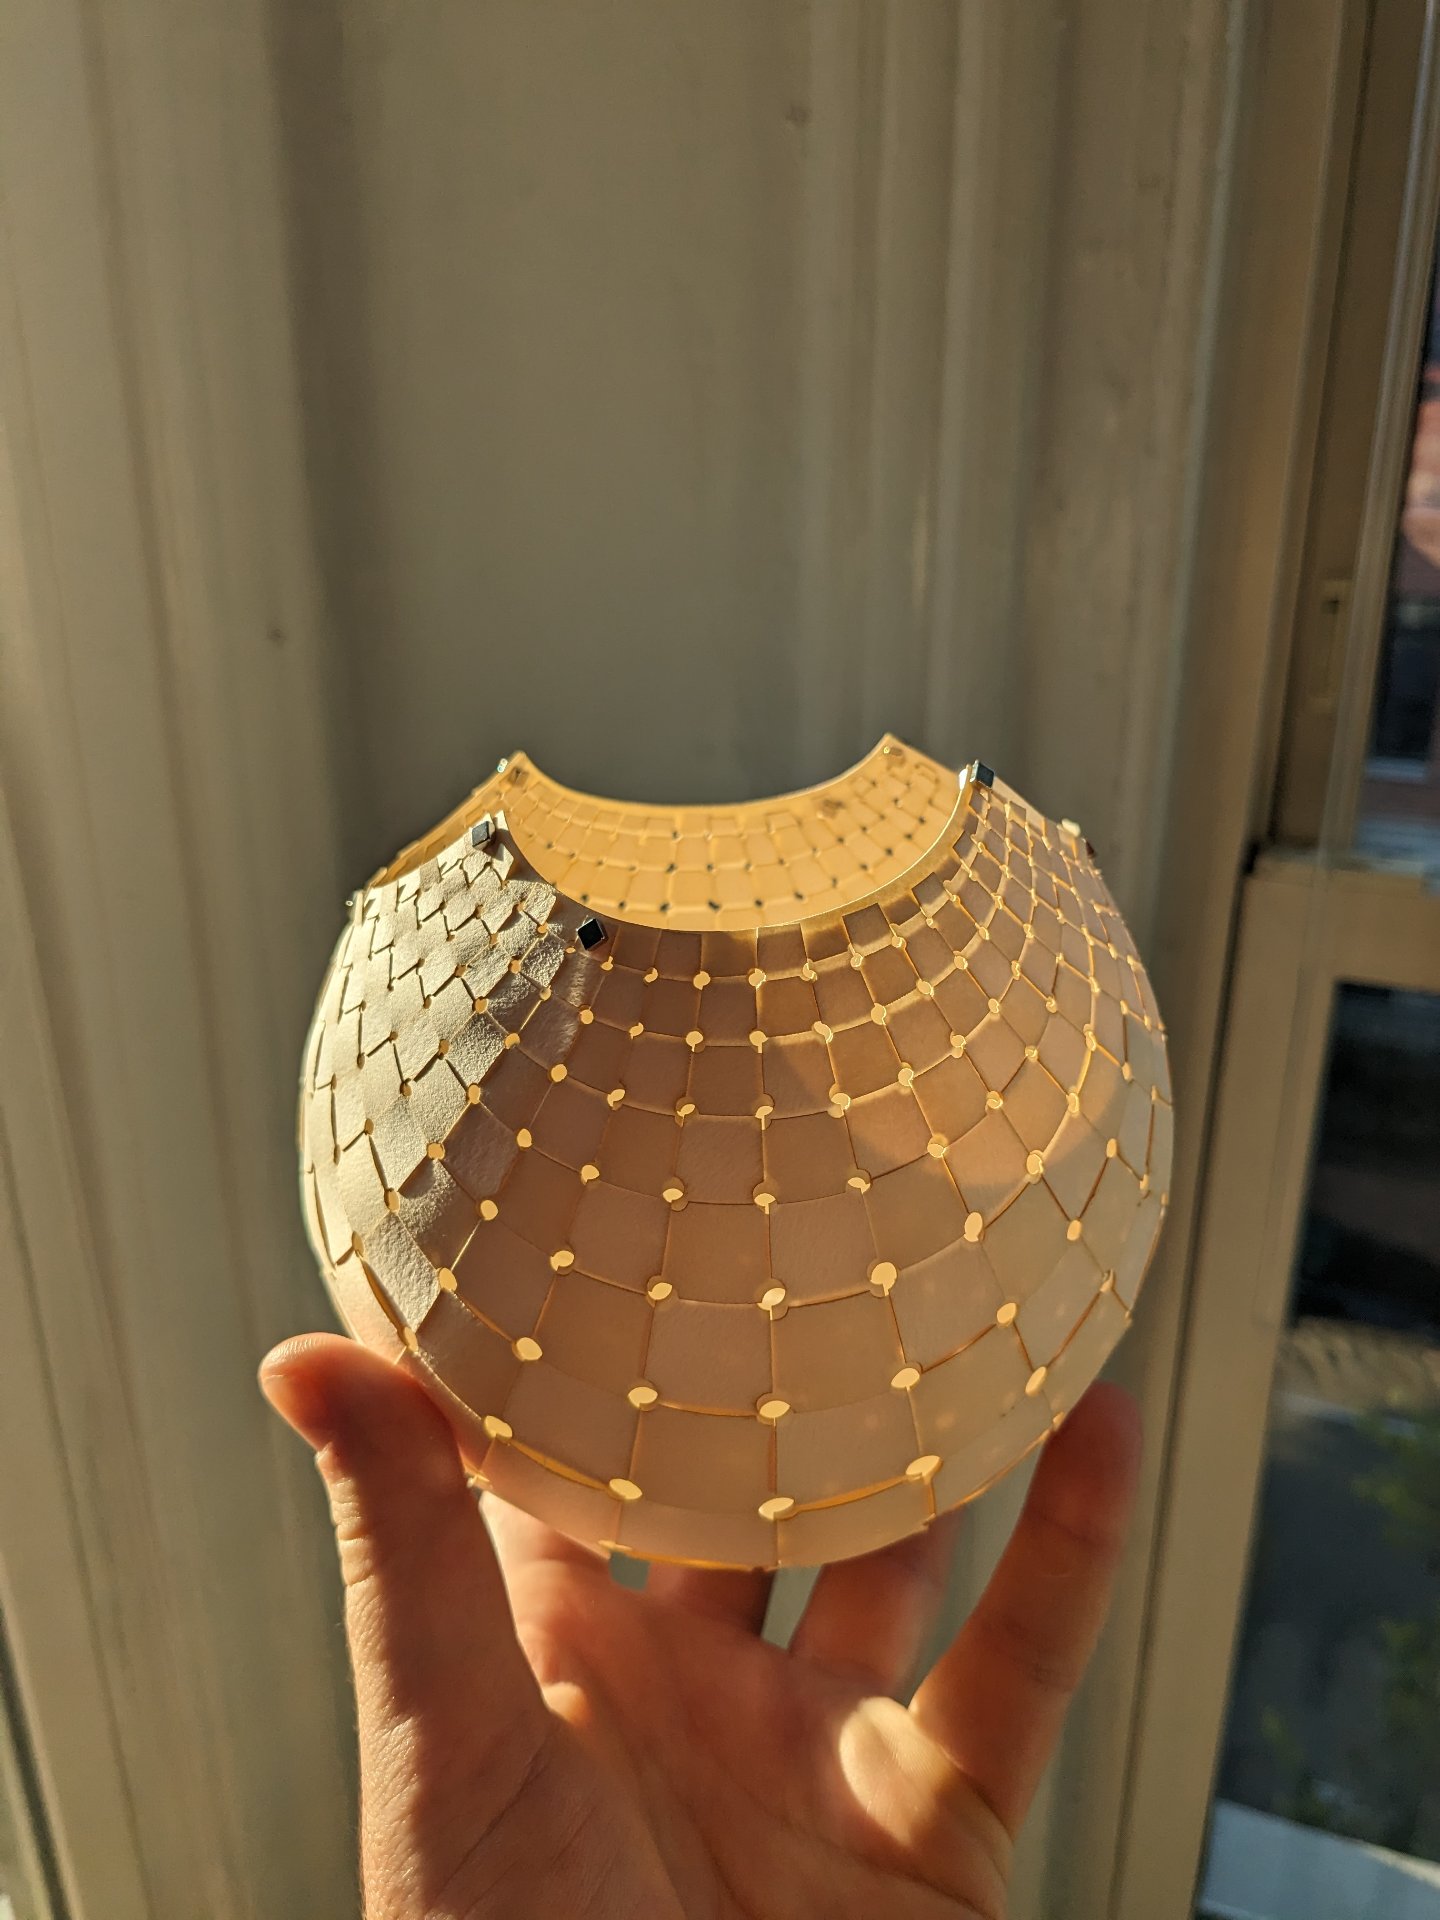
Another shot in the sunlight the next morning. The off-white paper made this a trickier first attempt than it
needed to be, but I think the colors look fantastic in this warm sunlight.
-
I really don't know what to call this thing. "Woven paper sphere" doesn't really roll off the tongue. "Stereographic paper thing" doesn't sound great either. "Cool paper sphere" is the best I've got so far. ↩︎